
You might have noticed the recent addition of a new feature in the left menu called “SSH Keys.” This feature is designed to significantly enhance the security and convenience of accessing your virtual servers. Public key authentication provides a secure “password” using cryptography to an extent not covered by plain, user-made passwords.
Key Points
- SSH public key authentication offers superior security compared to traditional passwords.
- The system relies on a key pair: a Private Key (kept secret) and a Public Key (shared with servers).
- Users can disable simple password authentication for increased server protection.
- Once configured, you can access your newly created VPS services without manually typing a password.
The main reason to use this feature is simple: security. By using public keys, you no longer have to remember complex passwords, and the risk of brute-force attacks is virtually eliminated. For those looking for even more advanced hardware-based security, you can also learn how to setup YubiKey for SSH authentication on Windows.
What is Public Key Authentication?
The SSH protocol supports several authentication methods, with public key authentication being essential for both interactive and automated connections. To use this method, two separate keys are required to work together in a pair:
- The Private Key: The most important file, which you should never share with anyone. It stays on your local machine.
- The Public Key: This key is shared with any SSH server you wish to access.
How to get your own SSH public key?
Generating a key pair is easy and depends on your local operating system. On Windows, you can download PuttyGEN to generate your key, ensuring you keep the “.priv” file in a safe place . On Linux, simply use the ssh-keygen command in your terminal to create the required files. In both cases, only the “.pub” file (Public Key) should be uploaded to the server.
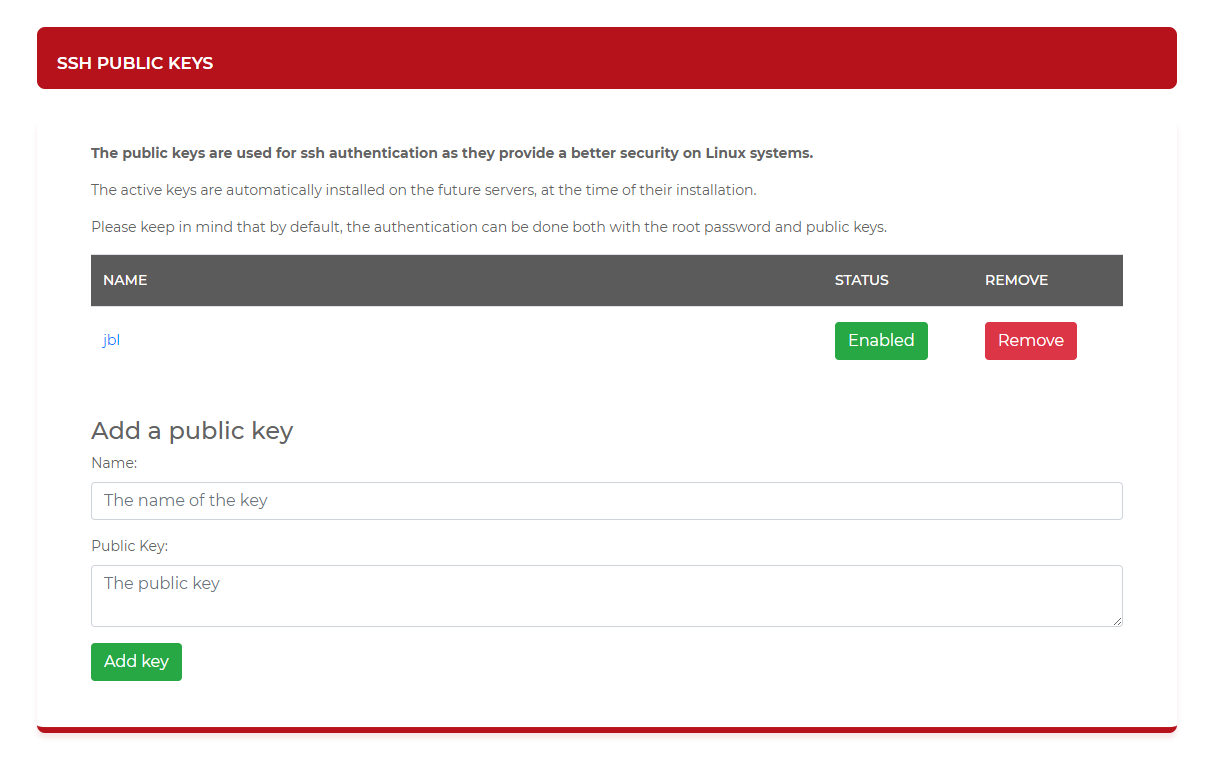
How to add the SSH Public Key to your MVPS.net account?
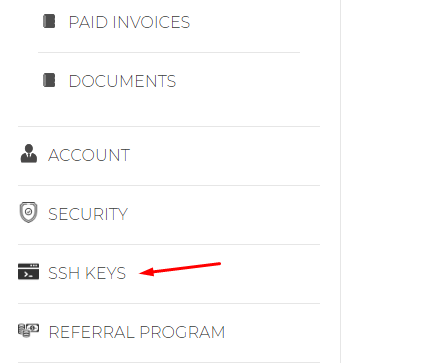
To use this SSH Public Keys feature, log in to your account and locate the “SSH keys” tab.
Follow these steps to register your key:
- Enter a recognizable name in the “Name” field.
- Open your Public Key with a text editor and copy its entire content.
- Paste the content into the “Public Key” field and click “Add Key”.
After adding the key, make sure your SSH client is configured to load your Private Key automatically. All your newly created VPS services will now have this public key pre-installed, allowing you to access them by simply inserting the IP address.
Please note that we provide unmanaged VPS services. While we ensure the server is working and the network is functional, securing access via SSH keys is a recommended practice managed by the user. By using optimized RAM and DISK resources on our platform, you can ensure a fast and responsive connection once your secure key is established.
ssh-rsa AAAAB3NzaC1yc2EAAAADAQABAAABAQDSkT3A1j89RT/540ghIMHXIVwNlAEM3WtmqVG7YN/wYwtsJ8iCszg4/lXQ....iC2UK3RmLxZicWiQmPnpnjJRo7pL0oYM9r/sIWzD6i2S9szDy6aZ [email protected]That’s all! Enjoy!


