
By default, the Mikrotik CHR has no configuration added. The default user is admin and there is no password (press enter when asked for password).
Key Points
- By default, MikroTik CHR has no password for the admin user upon first login.
- Initial configuration requires setting up an IP address, default route, and DNS via the vNoVNC console.
- Securing your instance with a firewall and strong password is critical for unmanaged VPS environments.
- MVPS provides unmanaged services; support ensures the VPS and network are working but does not manage your CHR settings.
- These VPS products do not include “dedicated CPU” or guaranteed resources for the processor.
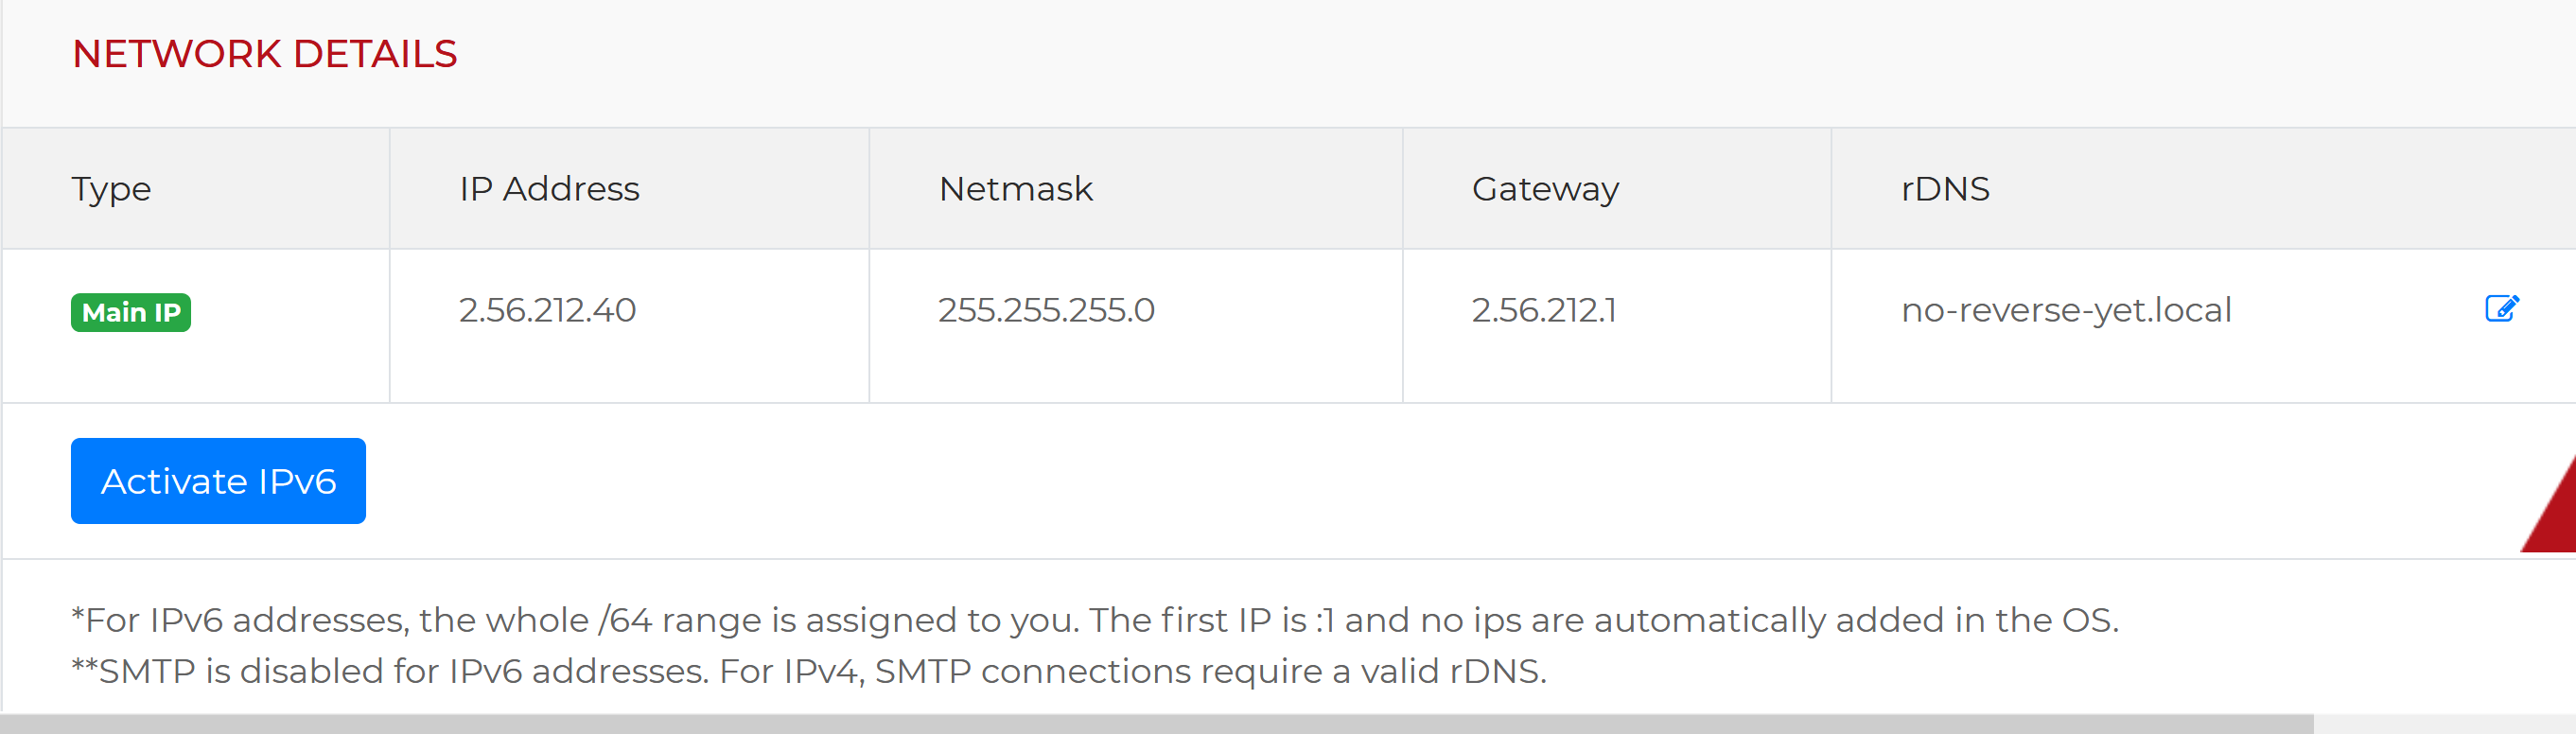
As soon as your Mikrotik VPS is ready, go to the Servers page, search for your Mikrotik VPS and click on the “Details” button. You will be taken to the VPS management page where you will have access to the web console and you will be able to see the network details as in the image below. Please take note of the IP address and of the gateway (the prefix is always /24)
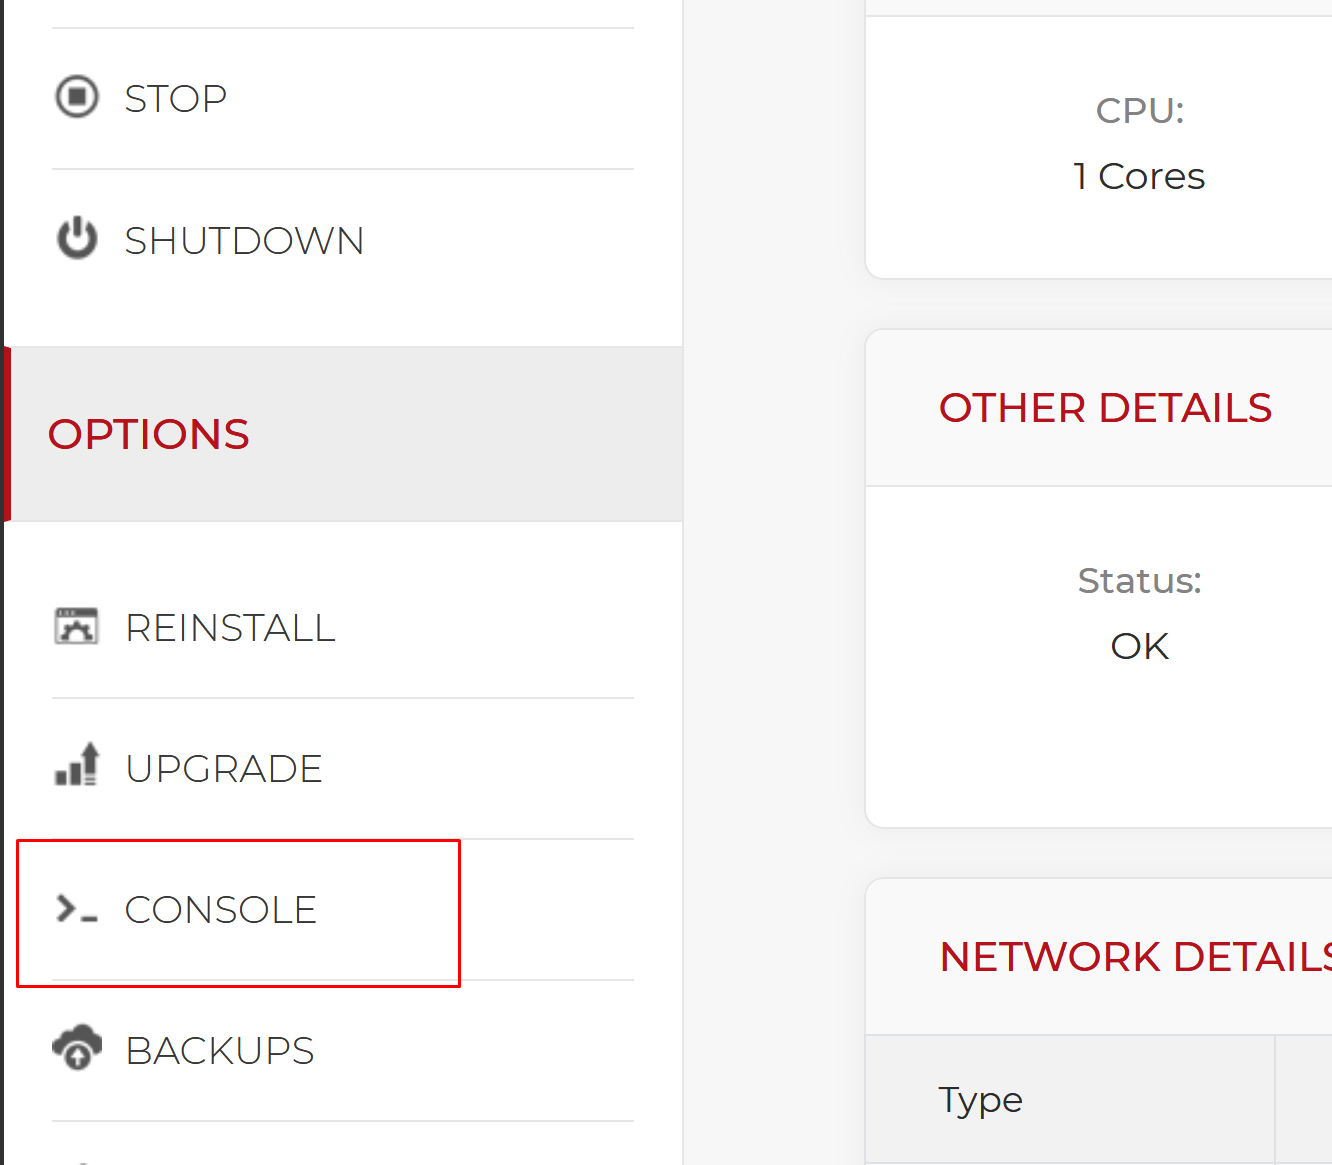
From the left menu, click on the Console button as shown below:
How to log in to the MikroTik Console?
A new window will be opened with the novnc console. The first thing to do is to login. Enter admin as the username and just press enter when asked for the password.
You will then be asked to set a new admin password (Please use a really strong password).
Configuring the Network Interface
The primary WAN interface is typically identified as ether1. To enable connectivity, you must manually configure the IP address, default route, and DNS settings.
/ip address add address="2.56.212.40/24" interface=ether1We add the default route
/ip route add dst-address=0.0.0.0/0 gateway=2.56.212.1And we set up DNS (we recommend google dns)
/ip dns set servers=8.8.8.8,8.8.4.4And we block remote DNS requests to prevent amplification attacks:
/ip dns set allow-remote-requests=noDisabling remote DNS requests is a crucial step to prevent your server from being used in DNS amplification attacks.
Security Best Practices for MikroTik CHR
Once the network is configured, you can connect using the Winbox utility. Because this is an unmanaged service, you are responsible for the internal security and firewall configuration of your router.
We highly recommend the following steps:
- Create a firewall rule to block all input traffic except from your trusted IP addresses.
- If you do not have a static IP, block all ports except for Winbox (TCP/8291).
- Always keep your CHR updated to the latest stable version.
For more detailed instructions, please refer to the official manual on securing your MikroTik router.


