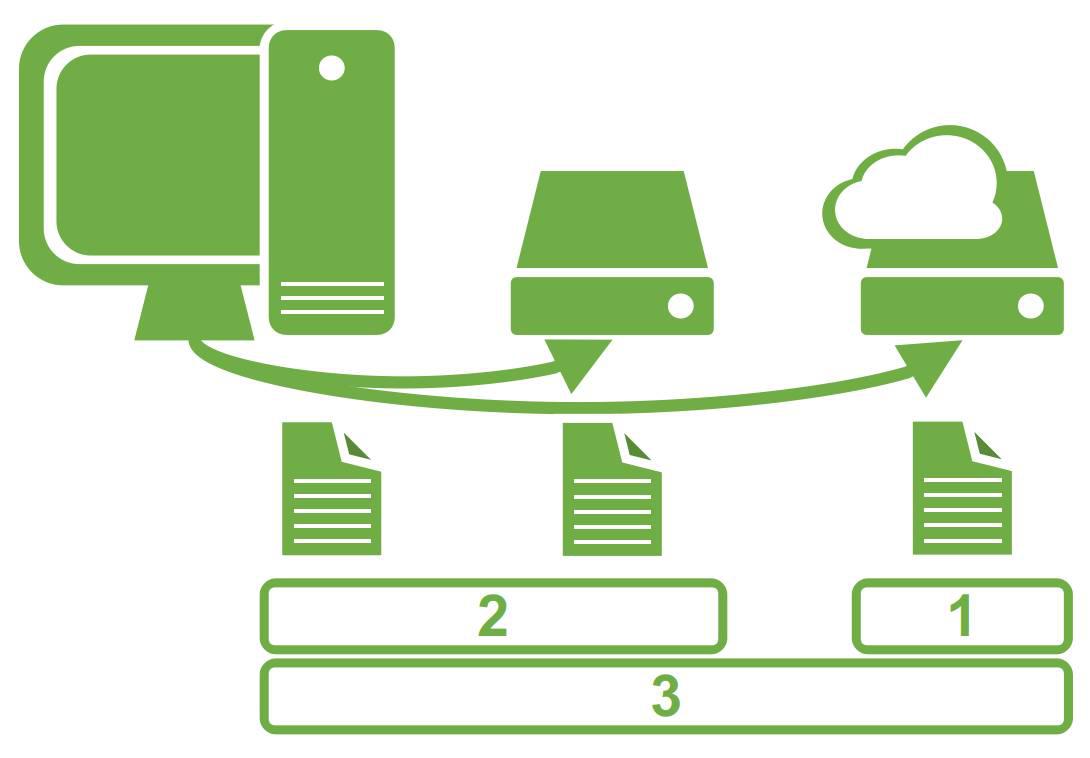
RAID, short for Redundant Array of Independent Disks, is an HDD configuration designed to provide shorter access times and system security in case of hardware errors. The RAID concept combines multiple hard disk drives into one logical disk drive with higher storage capacity, using a hardware component or software application.
Key Points
- RAID (Redundant Array of Independent Disks) combines multiple hard drives into a single logical disk.
- RAID 0 (disk striping) optimizes performance by splitting data, but provides no fault tolerance.
- RAID 1 (mirroring) duplicates data identically across drives to protect against hardware failure.
- RAID 5 balances read/write speeds and data protection by distributing block data and control sums.
- RAID 10 merges mirroring and striping to offer premium performance for database-heavy environments.
Hardware solutions are designed to present the system to which they are attached as a single large hard disk with other storage features, without the operating system having to know the real physical architecture. RAID systems are a virtualized solution made of embedded hard disks. Software solutions are deployed together with the operating system, but applications use the RAID architecture as a single drive.
What Are the Most Common Types of RAID Storage?
Depending on your data goals, there are several different types of raid structures you can choose to implement:
1. RAID 0 (Disk Striping)
RAID 0 is used to boost the performance of a server, this solution also being called disk striping. With RAID 0, data is written on multiple HDDs. This means that the server is working to write information on multiple hard disks, not just on one, improving performance both in writing and reading. In this case, a minimum of two hard drives is required. It can configure both software and hardware on most RAID controls.
2. RAID 1 (Disk Mirroring)
RAID 1 is a configuration known as mirroring, having two or more drives in mirror mode. With RAID 1, the data is copied perfectly and at the same time from one hard to the other, creating a copy or mirror. If a disk fails, the other can continue to work. It’s the easiest way to implement a system that resists hardware errors at a relatively low cost.
3. RAID 5 (Distributed Parity)
RAID 5 is by far the most common RAID configuration used for servers in the business environment, in private or state-owned firms and enterprises. This RAID level offers better performance than the mirror, as well as a hardware failure resistance. With RAID 5, information is divided into blocks of preset sizes and stores control sums on all hazards (having a good write and read rate, especially for small fractions of data).
4. RAID 10 (RAID 1 + 0)
RAID 10 is a combination of RAID 1 and 0 and is often referred to as RAID 1 + 0. It combines RAID 1 reflection with RAID 0. It is the RAID level that offers the best performance but is also costly, it requires twice more HDDs than other RAID levels, at least four. This RAID level is ideal for servers that contain databases and are widely used or for any server where many write operations are performed. RAID 10 can be deployed as hardware or software RAID, but the overall consensus is that many of the performance benefits are lost when using RAID 10 software.
When selecting your server environments to host database-intensive arrays, matching your software layer with elite infrastructure is essential. You can consult our expert review on the best VPS hosting for developers guide 2026 ranking to evaluate benchmarked setups optimized for system engineering tasks.
How to Create a RAID 5 Software Array on an Ubuntu Server?
To implement this specific different raid configurations model using standard storage assets on Ubuntu Server, execute the following technical deployment steps:
Step 1: Login as root:
sudo su
followed by the user password.
Step 2: Install the mdadm utility:
apt-get install mdadm -y
Step 3: View available disks on the system:
fdisk -l
In this case, sda is the boot disk, and the disks available for RAID 5 are: sdb, sdc, sdd, sde, sdf, sdg, sdh, and sdi.
Step 4: Create the RAID 5 array with active and spare paths:
mdadm --create --verbose /dev/md0 --level=5 --raid-devices=6 /dev/sdb /dev/sdc /dev/sdd /dev/sde /dev/sdf /dev/sdg /dev/sdh /dev/sdi
Step 5: Check the structural order details:
mdadm --detail /dev/md0
Step 6: Save your newly built array configuration:
mdadm --detail --scan >> /etc/mdadm/mdadm.conf
Step 7: Open the partition manager utility:
parted /dev/md0
Step 8: Inside the partition manager environment, execute the label rule:
mklabel msdos
to create an MBR partition table.
Step 9: Run the print command to list existing partitions:
p
Step 10: Exit the partition manager space:
q
Step 11: Create an ext4 filesystem block target:
mkfs.ext4 /dev/md0p1
Step 12: Create the mounting folder path and mount the system device:
mkdir /media/storage
mount /dev/md0p1 /media/storage/
Step 13: Run the command to fetch the unique block identity:
blkid /dev/md0p1
Step 14: Copy the printed UUID value and append it to your file systems table to initialize mounting at every system boot:
echo "UUID=000000-000000-000000-000000-000000 /media/storage ext4 defaults 0 0" >> /etc/fstab
Step 15: Reboot the machine:
reboot
Step 16: Verify that the mount functions correctly after your server reboots:
mount
Deploying advanced storage topologies like custom software RAID arrays requires comprehensive root-level server autonomy. Because we deliver unmanaged services, our technical infrastructure ensures that your virtual private server is active, network components are functional and panel variables perform well, leaving the setup of internal storage systems, partition logic, and system security entirely in your control.


