
We all know that using public/private key authentication is the most recommended authentication mechanism to connect to SSH servers.
Using a ssh-agent makes your life much easier and much more secure than entering passwords manually for each of your servers. Also, if you configure properly the ssh agent forwarding, you can connect to air-gaped systems while maintaining the security of your keys.
BUT, and here’s a big but, there’s always the risk that your computer would get infected which would lead to your keys being compromised and used to infect all other machines where your keys have access to. Using passwords would not make any difference and would just increase the risks associated, as they too would get compromised in the same way.
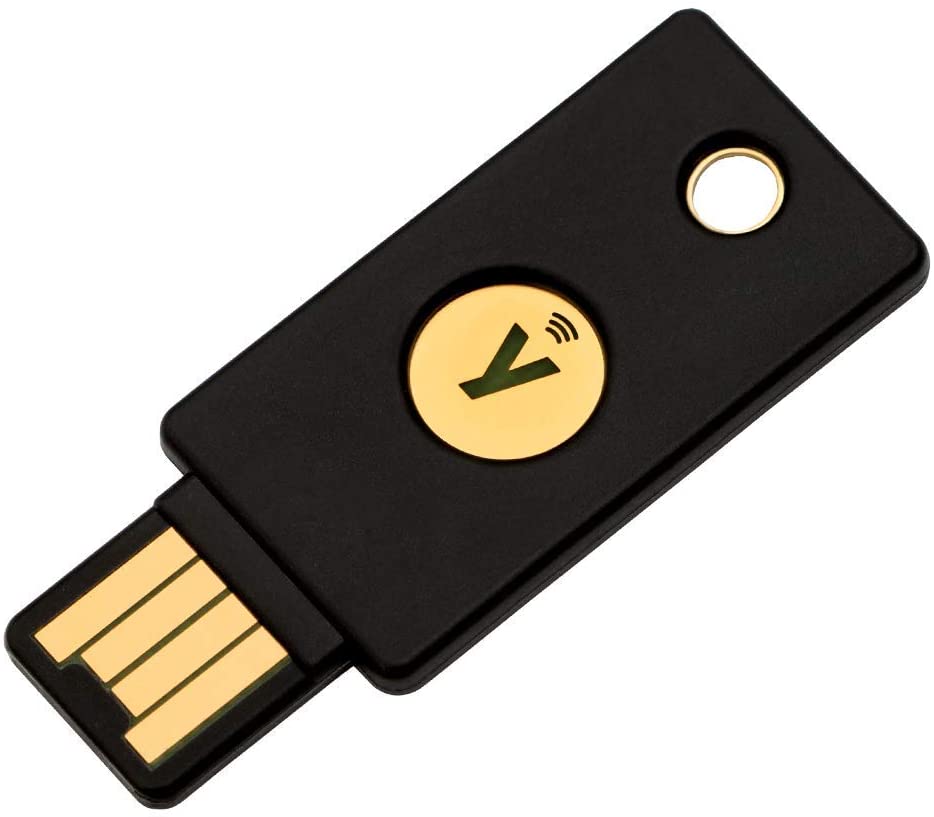
However, there’s a rather simple and straightforward solution which ensures that your keys cannot be compromised in the case of an infection, by using a hardware based smartcard. The most common one is the Yubikey 5, which has support for OpenPGP, and on which this guide is based on.
One of the main advantages of the security key, beside the ssh-agent functionality, is the touch to authenticate functionality. With it setup, you can be sure that any ssh authentication is confirmed by you physically touching the security key.
Part 1. Requirements
In order for us to start, you will need:
- YubiKey Manager
- GPG4WIN (Including Kleopatra)
- A YubiKey which has OpenPGP support (Ex: Yubikey 5 NFC)
Part 2. Configuring the Security Key
After you’ve installed the application and inserted the security key into your computer, we need to define the PINs. Open Kleopatra and go to Tools -> Manage Smartcards
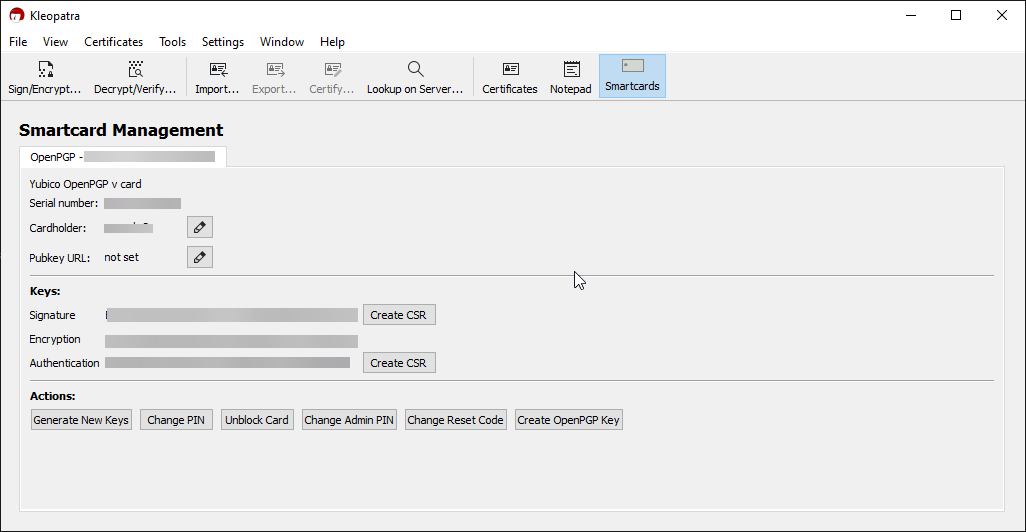
The default PIN is: 123456
The default Admin PIN is: 12345678
There are character limits so try to make it as complex as possible. Keep in mind you need to remember both of them. Never write them down.
On the bottom of the window, you will see the necessary buttons: Change PIN, Change Admin PIN and Change Reset Code. Start by changing all of them.

The reset code allows you to unblock the security key in the case when you’ve entered more than 3 wrong PINs. It’s rather useful I’d say.
Part 3. Configuring GPG4Win
There’s only a limited configuration required for GPG4Win in which we enable ssh-agent support for puTTy. In order for this to be achieved, we need to create a file %APPDATA%\gnupg\gpg-agent.conf and write inside enable–putty–support.
This can be achieved by executing the following powershell command:
Set-Content -Path "$env:APPDATA\gnupg\gpg-agent.conf" -Value "enable-putty-support" -ForceThere are complaints that GPG4Win sometimes crashes, especially when you remove/insert the security key. To solve such issues, Yubikey recommends to restart it using the following commands in powershell:
gpg-connect-agent killagent /bye
gpg-connect-agent /bye
Part 4. Generating the Keys
From the same Kleopatra window, click on Generate new Keys and follow the screen instructions. You need to check the Authentication checkbox in the advanced settings and disable the validity period (Valid Until) as follows:

Now, the recommendation by most security professionals is to set a Valid Until date (1 year) and renew it yearly, as it’s mainly a few clicks to renew it and doesn’t change the key. But I am a lazy person which tends to forget about such things and would not like to get into the situation where I got myself locked out. I trust the PIN codes are strong enough to the point that they would render the key useless if I ever lost it, as they can’t be brute forced due to the key locking itself up after 3 attempts.
I also believe that in the case you’ve lost the key, you should remove it from all your systems, not wait for it to expire.
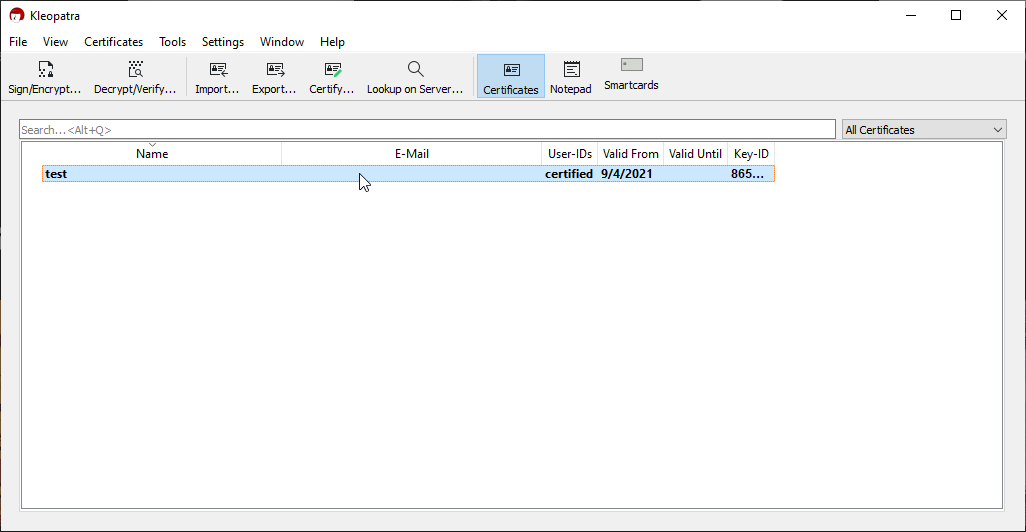
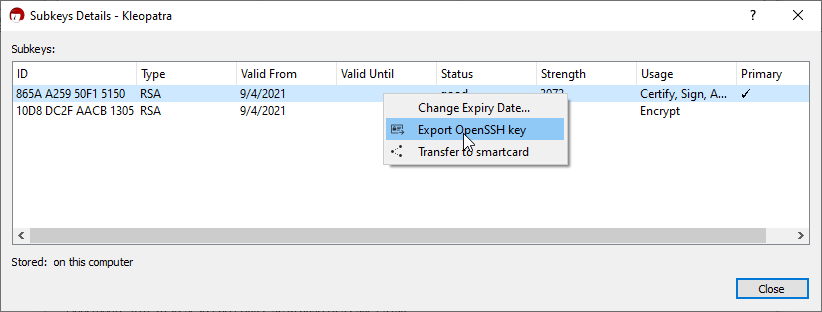
Once the keys have been generated, go the the main Kleopatra window, double click on the primary key, and click More details:
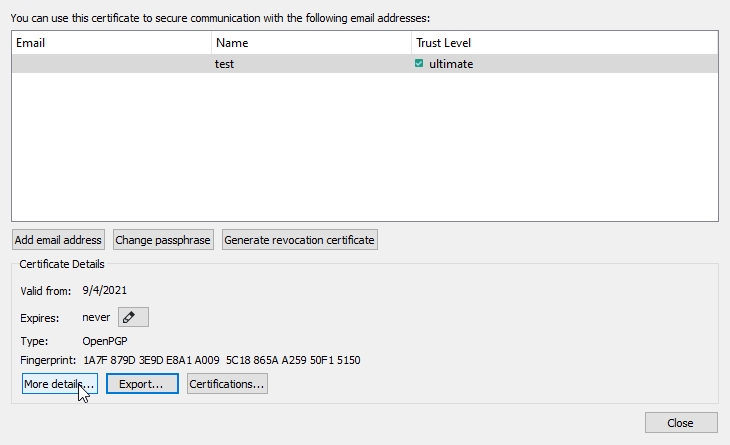
Right click on the subkey that has Authenticate as usage and select Export OpenSSH Key
A window should now be open with your ssh public key. Back it up as you’ll use it often and start adding it on your servers in ~/.ssh/authorized_keys
You should now be able to connect to any of your servers by using the security card’s ssh key. puTTy should work right out of the box.
VERY IMPORTANT! You should create 1 or more backup security keys and store them in a safe place. Add the public keys from all your security keys to all your servers so in the case where you lose one, you have a spare to connect.
Part 5. Enabling touch to authenticate
In this part, we will enable the requirement of touching the key in order for it to authenticate our ssh session. This is very important as it ensures that your computer cannot use the key unless you specifically touch it, ensuring that even in the case where you got infected while the key was plugged in and unlocked, the private key is not accessible.
For this, we will use the ykman.exe which is part of the YubiKey Manager. Open a powershell terminal and execute one by one the following:
cd "C:\Program Files\Yubico\YubiKey Manager"
.\ykman.exe openpgp set-touch aut on
.\ykman.exe openpgp set-touch enc on
.\ykman.exe openpgp set-touch sig on
Now, for the first connection, you’ll be asked for the pin followed by a touch of the security key. For future connections, you’ll only be asked to touch it.