
As we have recently announced, MVPS now supports private network for all our servers.
It is worth noting that a private network is created for each customer and for each of the datacenters we provide. Traffic from one datacenter to another is not forwarded via the private network.
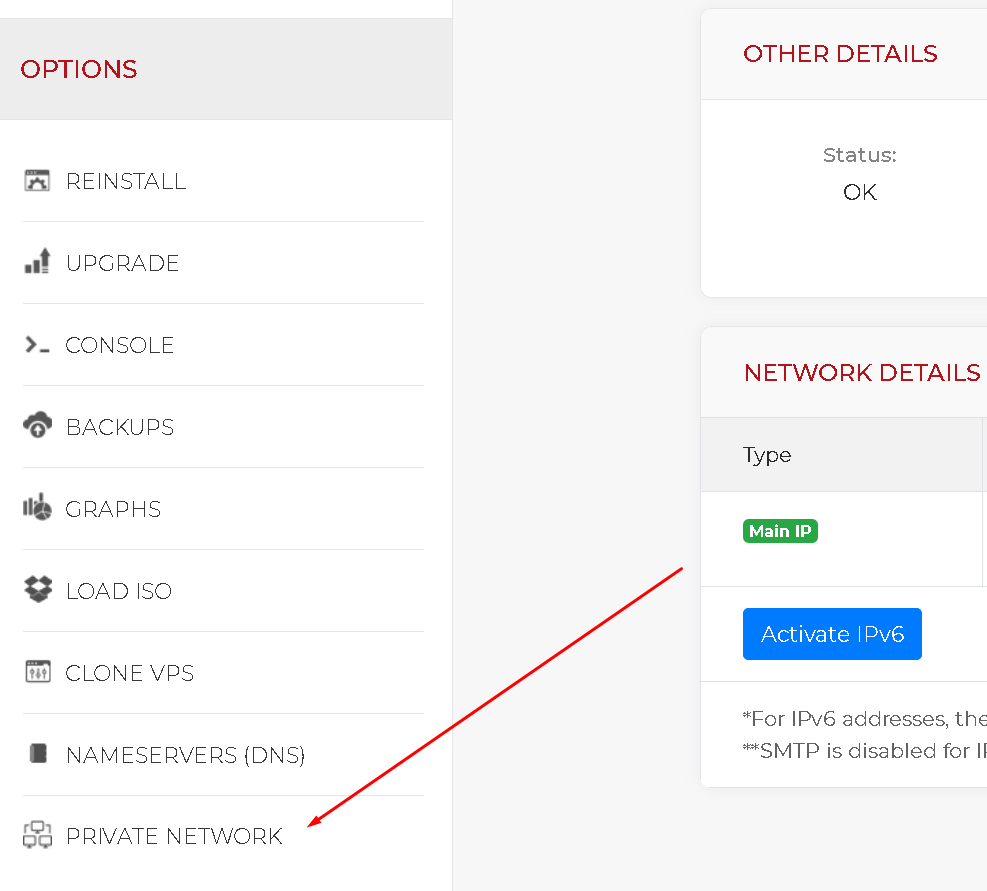
To configure the private network, you first need to enable it: Go to the the vps details page and click on the Private Network menu option on the bottom left
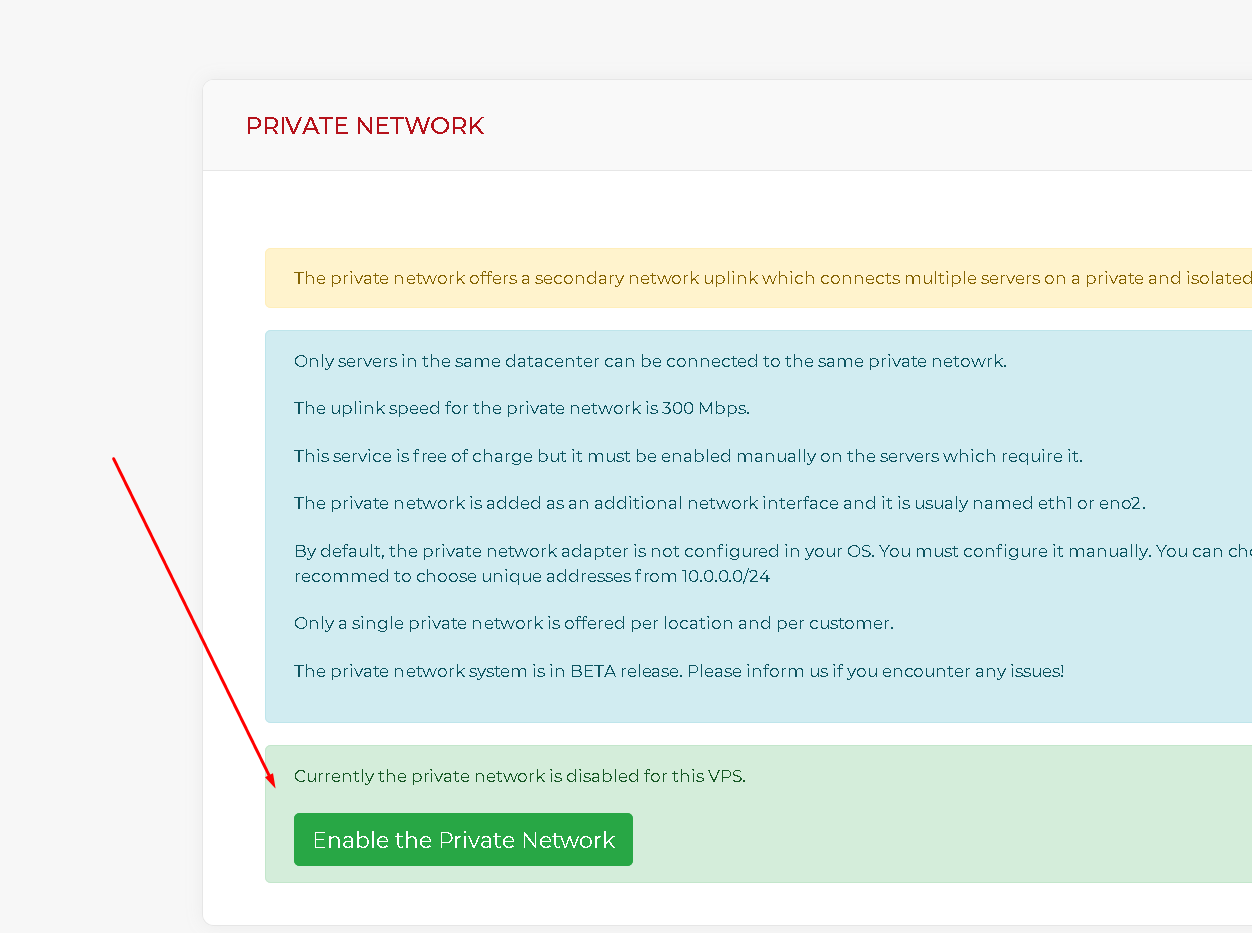
On the private network page, click on Enable the Private Network
After a few minutes, a new interface will be added to virtual machine.
You can check it by running: # ip link
On our linux servers, it should be eth1
Let’s now assume you have 3 servers in the same location and you would like to enable the private network on them. You have already clicked on the “Enable the Private Network” button and now you must configure the IPs in the Operating System.
You are free to use any private IP subnet, from the IANA Private ipv4 ranges (10.0.0.0/8, 172.16.0.0/12 or 192.168.0.0/16).
We generally recommend to use a /24 to allow for easier expansion. For this example, we have chosen the following subnet 10.0.0.0/24
This subnet allows us to use IPs from 10.0.0.1 to 10.0.0.254
The first server is running CentOS and we designate 10.0.0.1/24 for it’s private network.
The second server is running Ubuntu (or Debian, as they are configured in the same way) and we designate 10.0.0.2/24 for it’s private network.
The third server is running Windows and we designate 10.0.0.3/24 for it’s private network.
It is worth noting that you should not set a gateway when configuring the private network, unless you plan on removing the public network from the server.
To configure the private network on the CentOS server, we create a new file /etc/sysconfig/network-scripts/ifcfg-eth1 (we assume eth1 is the correct private network interface) and write inside:
DEVICE=eth1
ONBOOT=yes
IPADDR=10.0.0.1
PREFIX=24
Save the file and run: # ifup eth1
To configure the private network on the Ubuntu server, we create a new file /etc/network/interfaces.d/eth1 (we assume eth1 is the correct private network interface) and write inside:
auto eth1
iface eth1 inet static
        address 10.0.0.2
        netmask 255.255.255.0
Save the file and run: # ifup eth1
On Windows, you must go to Control Panel -> Network and Internet -> View network status and tasks -> Change adapter settings
Right click on the adapter with the largest ID (Probably Ethernet 3) and choose Properties
Select Internet Protocol Version 4 (TCP/IPv4) and click Properties.
Select Use the following IP address and write 10.0.0.3 on the IP Address field and 255.255.255.0 on the Subnet mask field.
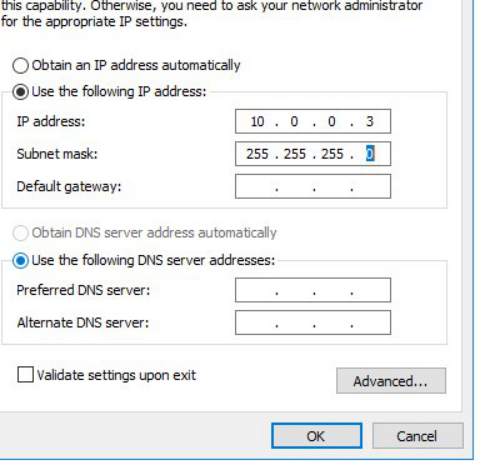
Click ok and that’s it.
Now you should be able to ping the private IPs between the servers.